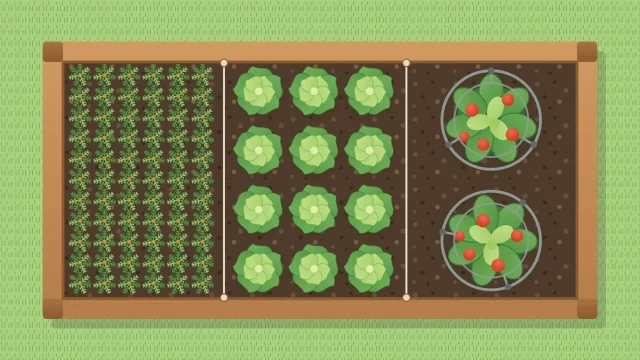
Succession Planting in Raised Beds: Keep the Bed Producing
A step-by-step plan for a longer harvest from one bed: small repeat sowings of quick crops, follow-on crops for every gap, and counting back from your first fall frost.
At a glance
What you need
- Local frost dates and planting calendar
- Seed packets
- Notebook and pencil
- Finished compost
- Garden fork
- Seed tray for spare seedlings
Plant a whole bed on one spring weekend and the pattern is predictable: everything ripens together, there is more lettuce than you can eat for two weeks, and by late summer half the bed is bare soil and weeds.
Succession planting in raised beds fixes both problems. You sow less at a time, more often, and you refill each gap as it opens. The space is small, so every square foot that stays planted counts.
Two methods, one idea
The University of Maryland Extension describes succession planting in two ways in its guide to succession and companion planting:
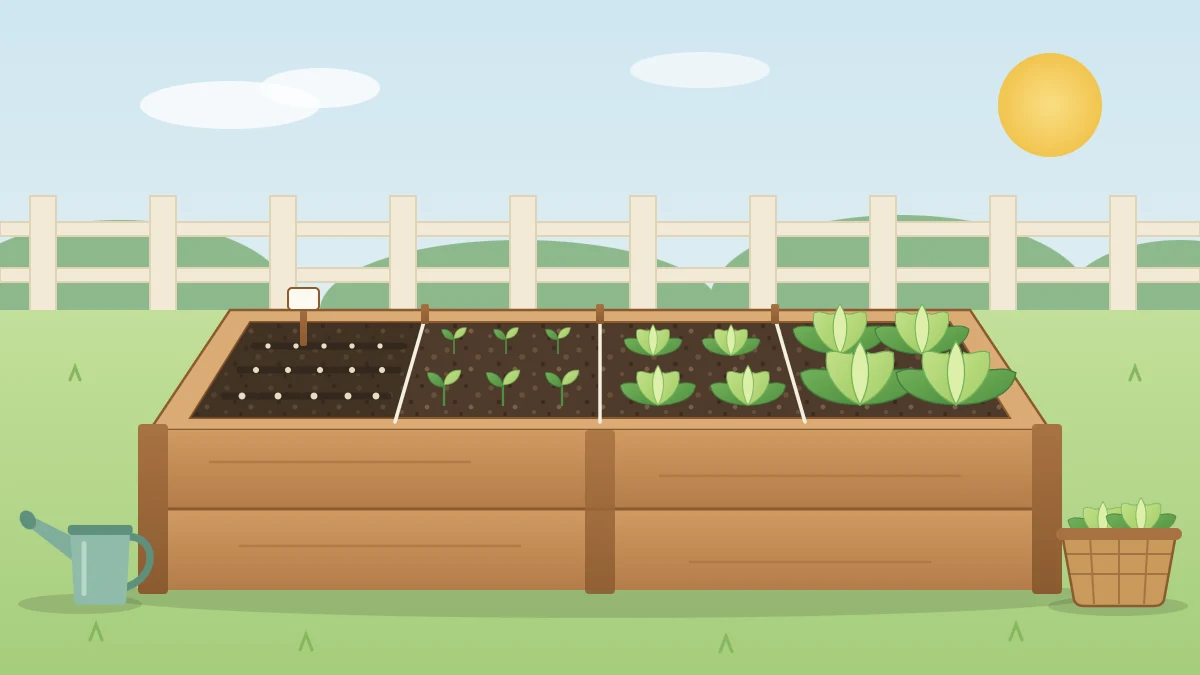
- Staggered sowings of one crop. Several small groups are sown over time, so the harvest arrives in a steady trickle instead of one glut.
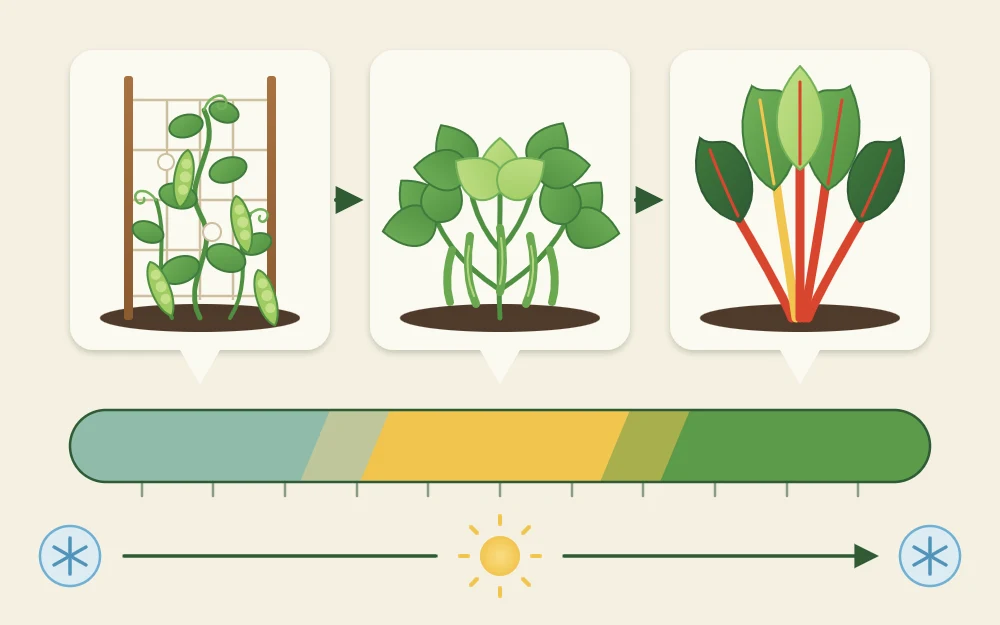
- Follow-on crops. When a crop is finished, its spot is replanted with something else. The examples given include Swiss chard after spring peas, and cool-season crops followed by warm-season crops.
Most gardeners use both together. The steps below build a simple plan for one bed.
Step 1: Find your frost dates and season length
Everything in a succession plan hangs on two dates: the average last frost date in spring and the average first frost date in fall for your area. The stretch between them is your main growing season, and cool-season crops extend it at both ends.
Your local extension service publishes these dates along with a planting calendar. As an example of what such a calendar looks like, see the University of Maryland Extension’s page on when to plant vegetables; it is written for Maryland, so use the equivalent for your own state or region.
Good to know
Frost dates are averages, not promises. A frost can arrive earlier or later than the listed date, so watch the forecast near both ends of the season.
Step 2: Sort your crops into cool-season and warm-season
Write down what you want to grow and mark each crop.
- Cool-season crops grow well in spring and fall and tolerate light frost: lettuce, spinach, peas, radishes, carrots, beets, kale, chard, broccoli.
- Warm-season crops need warm soil and no frost: bush and pole beans, tomatoes, peppers, cucumbers, squash, basil.
Then note the days to maturity from each seed packet. Quick crops, such as radishes, leaf lettuce and bush beans, are the workhorses of succession planting because they free their space soon. Long-season crops such as tomatoes hold one spot for most of the summer.
Step 3: Sow quick crops in small batches
For a crop you eat steadily, sow a short row or a small block, then sow another when the first is up and growing. Repeat for as long as conditions suit the crop.
Gardening calendars often suggest a fixed gap between sowings, but the weather does not keep to one. Seedlings grow slowly in cool soil and fast in warm soil, so sowings made at equal intervals in spring tend to catch up with each other. A more reliable cue is the previous sowing: when it has a few true leaves, sow the next.
- Lettuce and salad leaves: small sowings through the cool parts of the season, paused or moved to shade in summer heat. The guide to growing lettuce in raised beds covers bolting and heat-tolerant types.
- Radishes: a pinch of seed at a time; they mature fast and do not hold long.
- Bush beans: a few sowings through the warm season, since each planting crops heavily for a short spell.
Short cross-rows make this easy, because one row can be sown or cleared without touching its neighbors. See the article on raised bed planting layouts for how to arrange them.
Step 4: Plan the follow-ons
Next, look at each patch of the bed and ask what comes after the first crop. Useful sequences pair an early finisher with something that suits the weather that follows:
- Spring peas, then Swiss chard.
- Spring lettuce or spinach, then bush beans.
- Early radishes, then peppers or tomatoes set out after the last frost date.
- Bush beans or garlic, then fall lettuce, spinach or kale.
Write the sequences on a sketch of the bed so that, when a crop finishes, you already know what goes in.
Step 5: Count back from the first fall frost
Late sowings are the ones most often missed, because they have to go in while the summer crops still look good. To find the latest sensible sowing date for a fall crop:
- Take the days to maturity from the seed packet.
- Add extra time, commonly a couple of weeks, because growth slows as days shorten and cool.
- Add the length of time you would like to be harvesting.
- Count back that total from your average first fall frost date.
Frost-tender crops such as beans must finish before the first frost, so be strict with them. Hardy crops such as kale and spinach carry on past it, which gives you more leeway.
Step 6: Clear, add compost and replant
A gap is only useful if you refill it promptly. When a crop is finished:
- Pull or cut the spent plants. Compost healthy ones and bin any that are diseased. Pea and bean roots can be cut at soil level and left to break down.
- Remove weeds and loosen the top few inches with a fork.
- Spread a layer of finished compost and rake it in lightly. Each crop takes nutrients out, and a bed that grows two or three crops a year needs them put back.
- Sow or transplant, then water well.
Add fertilizer only if a soil test points to a need, and follow the product label.
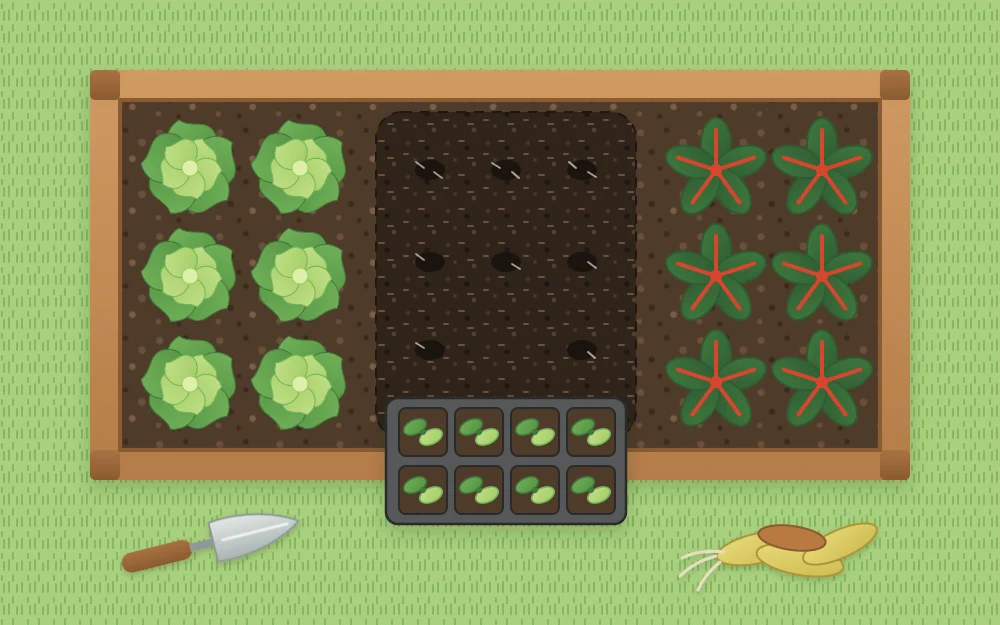
That is the reason to keep seedlings in reserve. Start a tray of lettuce, kale or chard a few weeks before you expect a gap, and the follow-on crop goes in as a transplant instead of a seed.
Step 7: Keep a simple record
A notebook page or a note on your phone is enough. For each sowing, write:
- the crop and variety
- the sowing or transplanting date and the spot in the bed
- the first and last harvest dates
- anything that went wrong, such as bolting, poor germination or a glut
Tip
Not every gap needs a crop. When it is too late for another harvest, cover the empty soil instead; the guide to preparing raised beds for winter explains mulches and cover crops.
Frequently asked questions
How far apart in time should I make succession sowings?
There is no single interval that suits every crop and season. Growth speeds up as soil warms, so sowings made at equal gaps in spring often mature together. A practical cue is to sow the next batch when the previous one has a few true leaves, and to adjust after seeing how the harvests arrive.
What can I plant after spring peas or lettuce are finished?
Choose something that suits the warmer weather that follows. Swiss chard after peas is an example the University of Maryland Extension gives, and bush beans are a common follow-on for spring lettuce or spinach. Clear the old crop, rake in some finished compost, then sow or transplant and water well.
How late can I sow for a fall harvest?
Count back from your average first fall frost date. Take the days to maturity on the seed packet, add extra time for slower growth in shortening days, and add your harvest period. Frost-tender crops must finish before frost, while hardy greens such as kale and spinach continue beyond it.