How to Plan a Raised Bed Garden Layout on Paper
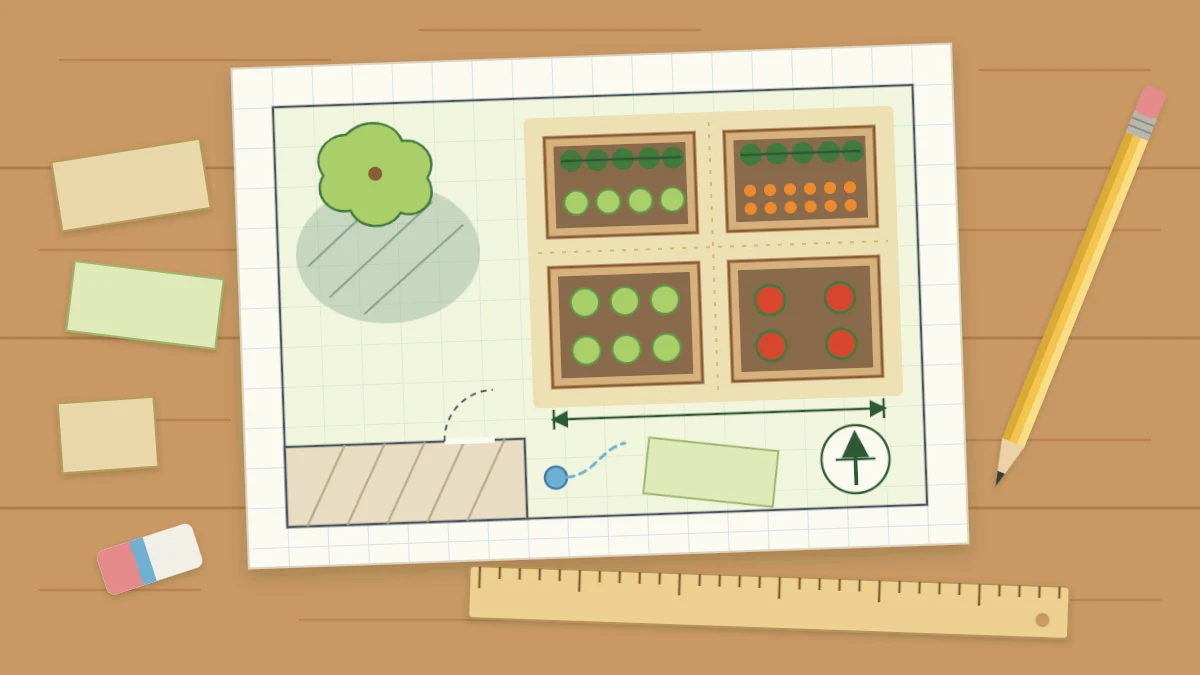
A step-by-step way to plan several raised beds on grid paper: draw the space to scale, move paper beds around, leave working paths, place tall crops, then test it with string.
At a glance
What you need
- Long tape measure
- Grid paper
- Pencil and eraser
- Ruler
- Scissors
- Stakes and string
A pencil and a sheet of grid paper cost almost nothing, and they let you move a bed ten times before you lift a shovel. Working out a raised bed garden layout on paper is the cheapest way to catch the problems that are painful to fix later: a path too tight for the wheelbarrow, a trellis shading the peppers, a bed just beyond the hose.
The method below takes an afternoon and needs no drawing skill. You measure the space, draw it to scale, slide paper beds around until the plan works, and then test it on the ground with string.
Step 1: Measure the space and draw it to scale
Start with the area you are willing to give to the garden, not the whole property.
- Measure the length and width of the area with a long tape measure. Note the distance to fixed things at its edges: the house wall, a fence, a shed, a tree trunk.
- Choose a scale that fits your paper. One square for each foot (30 cm) works for most backyards; use one square for every 2 ft (60 cm) for a larger plot.
- Draw the outline, then add the fixed features: doors and gates, the outdoor tap, trees and large shrubs, fences, and anything overhead.
- Mark north with an arrow. A phone compass is accurate enough.
- Shade in slopes and low spots where water collects after rain.
If you have not yet settled which part of the yard to use, the checklist in where to put a raised bed comes first. This tutorial assumes the general area is chosen.
Step 2: Add sun and shade
Sun decides where the beds can go more than anything else on the plan. On a clear day, look at the area in the morning, around midday and in the late afternoon, and lightly pencil in where the shadows of the house, fences and trees fall each time.
The parts of the plan that stay unshaded through most of the day are your best ground. For how many hours each crop group wants and how to log them properly, see the guide to how much sun a raised bed needs.
Step 3: Cut out paper beds and move them around
This is the step that makes paper planning worth doing. Cut rectangles from a second sheet, at the same scale, for each bed you are considering.
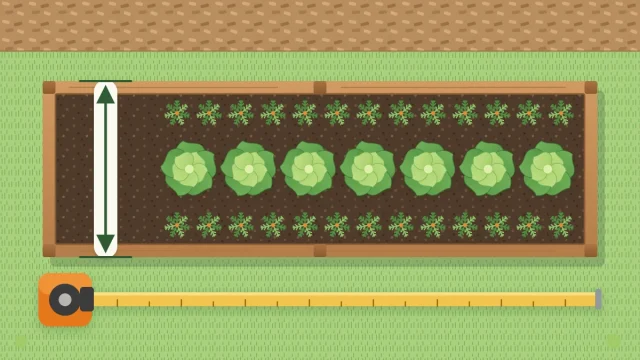
- Make each one a width you can reach across: narrower for a bed against a fence, wider for one you can walk around.
- Cut a few different lengths so you can try combinations.
- Slide the rectangles around the sunny part of the plan. Try them in a row, in pairs, and in an L around a corner.
- Keep beds clear of tree canopies and of the shaded strip beside fences and walls.
Step 4: Leave paths for what must pass
Now look at the gaps. Every bed needs a path along each side you will work from, and at least one route has to take whatever you plan to wheel in: compost, soil, a cart of tools.
Draw one main path from the gate or the compost area into the garden, and narrower side paths between beds. Check the route to the tap, and whether a hose can reach every bed without being dragged across another. Width figures and surface choices are covered in the guide to raised bed pathways; on the plan, it is enough to give each path its real width in squares.
Tip
Cut a small paper wheelbarrow to scale and push it along the paths on your plan. If it cannot turn the corners on paper, it will not turn them in the yard.
Step 5: Place tall crops and trellises for sun
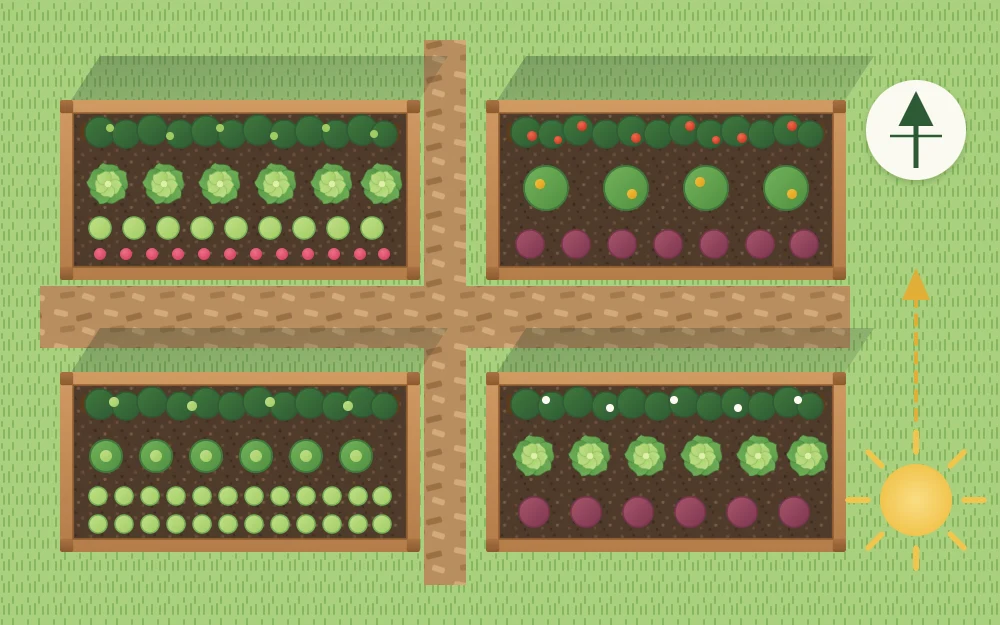
Tall plants cast shade on whatever grows behind them. The University of Maryland Extension’s guide to planning a vegetable garden advises putting taller crops on the north and west sides of a bed so they do not shade shorter ones. This assumes the Northern Hemisphere; in the Southern Hemisphere the sunny side is reversed.
On your plan, draw a line along the north edge of each bed where a trellis, tomato cages or pole beans could stand. Then check the bed behind it: if a tall row in one bed will shade the next bed over, widen the gap or put the tall crops in the northernmost bed.
Step 6: Put the busiest bed near the door and number the beds
Think about how often you will visit each bed. Salad greens and herbs get picked a handful at a time, often while dinner is cooking, so the bed that holds them belongs closest to the kitchen door. Crops harvested a few times a season, such as winter squash or garlic, can sit at the far end.
Then give each bed a number and write it on the plan. Numbers make it easy to record what grew where, which is the basis of moving plant families to a different bed each year. The guide to crop rotation in raised beds explains how to use them.
Step 7: Stake out the plan and walk it
Paper cannot tell you how a space feels. Before you buy materials, transfer the plan to the ground.
- Push a stake in at each bed corner, measuring from the same fixed features you used on paper.
- Run string around the stakes to outline each bed.
- Walk every path. Carry a watering can, push the wheelbarrow, and kneel beside each outline and reach for the middle.
- Pull the hose to the farthest corner.
- Leave the strings up for a few days and watch where the shadows fall.
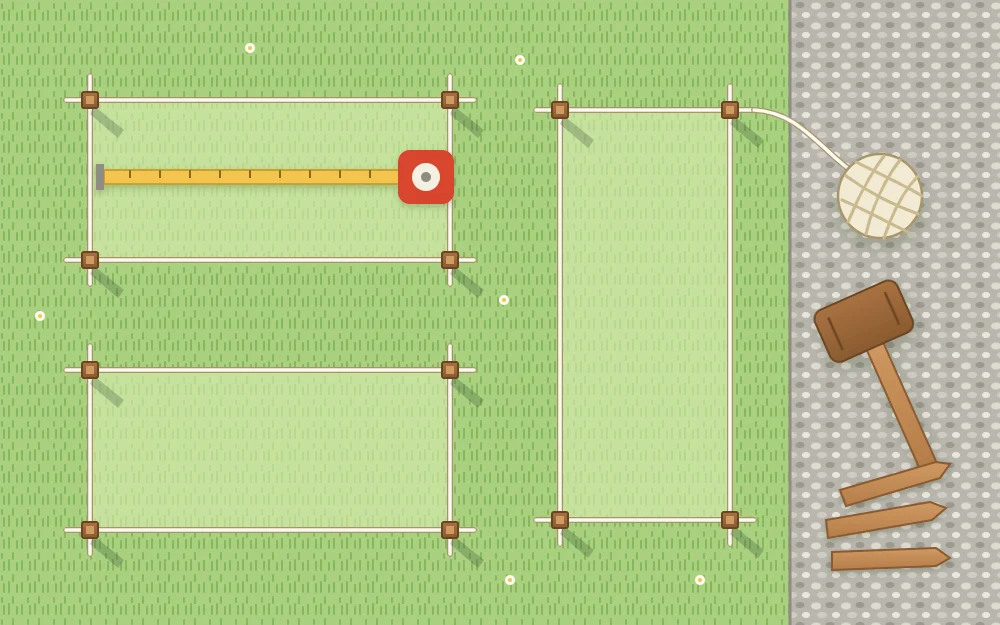
Change whatever feels cramped, then correct the paper plan to match.
Start with fewer beds than the plan allows
A finished plan may show six beds. That does not mean building six this year. The University of Maryland Extension suggests 25 to 50 square feet (about 2.3 to 4.6 square meters) for a starter garden, which is one or two modest beds.
Build the beds nearest the door and the tap first, and leave the string up, or the lawn in place, where the others will go. After a season you will know how much watering, weeding and harvesting you want to take on, and the plan will still be there to grow into.
Frequently asked questions
Which direction should raised beds run?
Advice differs between sources, and the shape of the yard often settles it. What matters more is where tall crops stand: place them on the north or west side of a bed, in the Northern Hemisphere, so they do not shade shorter plants. Then check that one bed does not shade the next.
How many raised beds should a beginner plan for?
Plan the whole space if you like, but build one or two beds in the first year. The University of Maryland Extension suggests 25 to 50 square feet for a starter garden. A small garden that gets regular attention usually does better than a large one that becomes a burden.
Can I use an app instead of grid paper?
Yes. Any drawing or planning tool that keeps a consistent scale will do the same job. Paper has one advantage: cut-out beds can be slid around in seconds, and the sheet can come outside with you while you stake out the corners and check measurements.