Mulching Raised Beds: Materials, Depth and Timing
A step-by-step guide to mulching a vegetable bed: which materials work, how thick a layer each one needs, when to spread it for different crops, and how to look after it through the season.
At a glance
What you need
- Straw, shredded leaves or another clean organic mulch
- Newspaper or plain cardboard (optional)
- Hand fork or trowel for weeding
- Watering can or hose
- Garden gloves
Mulching raised beds is one of the cheapest jobs in the garden and one of the most useful. A layer of loose material over the soil slows drying, keeps weeds down and softens the swings in soil temperature that a raised bed is prone to.
The questions are what to use, how thickly to spread it and when. None has a single answer, because materials behave differently and crops want mulch at different moments. The steps below cover a typical vegetable bed.
What mulch does for a raised bed
- Slows evaporation. Covered soil holds its moisture longer between waterings.
- Moderates soil temperature. The soil under mulch heats up less on hot afternoons and cools less at night.
- Suppresses weeds. Most weed seeds need light to sprout. Mulch reduces weeding; it does not end it.
- Protects the surface. Heavy rain no longer pounds the soil into a crust or splashes it onto lower leaves.
- Adds organic matter. Organic mulches break down slowly and become part of the soil.
Because raised beds dry faster than ground-level soil, mulch belongs alongside good habits for watering raised beds. It stretches the time between waterings but does not replace checking the soil.
Choosing a mulch material
Use what is clean, free of weed seeds and easy to get where you live. The usual choices for vegetable beds compare like this:
| Material | Good points | Watch for |
|---|---|---|
| Straw | Light, easy to spread, lasts most of a season | Ask for straw, not hay, which carries grass and weed seeds |
| Shredded leaves | Free in fall, break down into dark leaf mold | Whole leaves mat together and shed water, so shred them first |
| Grass clippings | Free, fine-textured, break down fast | Spread thin and let each layer dry; use only clippings from a lawn that has had no weed killer |
| Finished compost | Feeds the soil as it covers it | Blocks weeds less well than coarser mulch |
| Newspaper or plain cardboard | Blocks light well under another mulch | Needs a covering to hold it down; avoid glossy or heavily printed sheets |

If you plan to use finished compost as the mulch, the compost guide explains how to tell when it is ready. Wood chips are a different matter. They make a long-lasting surface for the paths between beds, but they break down slowly, and fresh woody material mixed into vegetable soil can temporarily tie up nitrogen as it decomposes. Keep them on the paths.
How thick to spread it
The University of Maryland Extension’s guide to caring for a vegetable garden describes 2 to 4 in (5 to 10 cm) of organic mulch around crops, such as grass clippings, finished compost, or newspaper covered with straw or shredded leaves.
Within that range, let the material decide. Fine, dense materials such as grass clippings and compost go on at the thin end, because a thick layer can pack down, turn slimy and keep rain out. Loose, coarse straw goes on thicker, because it settles to a fraction of its fluffed-up height within days. Look again a week later and adjust.
When to mulch
Mulch insulates, and that cuts both ways. Soil that is cold when you cover it stays cold longer.
- Warm-season crops such as tomatoes, peppers and squash: wait until the soil has warmed before mulching.
- Cool-season crops such as lettuce, peas and kale: mulch earlier, since cooler, moister soil suits them.
- Direct-sown rows: wait until the seedlings stand taller than the layer you intend to spread. Small seeds cannot push through thick mulch.
- Transplants: mulch soon after planting, once the soil is warm enough for the crop.
How to mulch a bed, step by step
- Weed first. Pull what is there, roots included. Mulch slows new weeds far better than it smothers established ones.
- Water the bed. Mulch holds in whatever moisture is already there, so soak the soil before covering it.
- Lay paper if you are using it. Overlap sheets of newspaper or plain cardboard between the rows and wet them so they stay put.
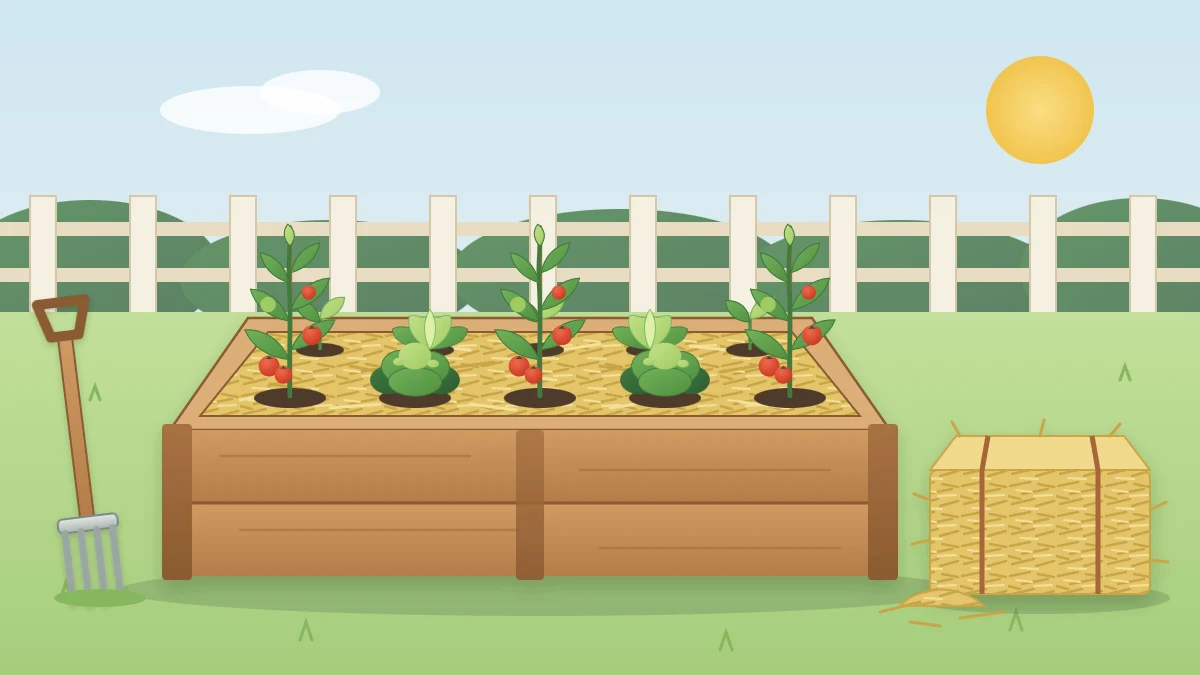
- Spread the mulch by hand. Shake it out loosely and evenly between plants and right up to the frame.
- Keep it off the stems. Leave a small bare ring around each plant so the base of the stem stays dry and air can reach it.
- Settle it. A light watering helps straw and leaves knit together so the wind does not lift them.

Looking after mulch through the season
Organic mulch thins as it decomposes. Top it up when soil starts to show through. Keep checking moisture underneath with a finger as well: a light shower may never get through the layer, and mulch hides dry soil as well as it hides wet soil.
In wet weather, slugs and snails shelter under mulch. If seedlings are being eaten, pull the mulch back from them, hand-pick in the evening and keep the layer thinner until the weather dries.
Good to know
Skip grass clippings from a lawn that has had weed killer applied, and hay or straw of unknown history. Some herbicide residues can harm vegetable crops. When in doubt, compost the material elsewhere and mulch with something you know.
What to do with mulch at the end of the season
By fall, fine mulches have mostly disappeared into the soil. What is left can stay where it is or be worked lightly into the top few inches. Coarse straw that has not broken down can be raked aside for sowing and put back later, or added to the compost pile.
If the crop was diseased, clear the old mulch away with the plant debris instead of turning it in. Then cover the soil again for the cold months: the guide to preparing raised beds for winter explains how.
Frequently asked questions
What is the best mulch for a raised vegetable bed?
There is no one best choice. Straw, shredded leaves, dry grass clippings and finished compost all work, and the right one is usually whichever is clean, free of weed seeds and easy for you to get. Many gardeners combine them, for example newspaper between rows with straw on top.
Can I use wood chips in a raised vegetable bed?
Wood chips suit the paths between beds better than the beds themselves. They last a long time, which is useful underfoot, but fresh woody material mixed into vegetable soil can tie up nitrogen for a while as it breaks down. For annual vegetables, a finer mulch that decomposes within a season is easier to manage.
Should I remove mulch before planting?
Rake it aside where you intend to sow seed, because small seeds cannot push through a thick layer and the soil beneath warms slowly. For transplants, part the mulch, plant, then draw it back around the plant, leaving a small bare ring at the stem. Return the rest once seedlings are tall enough.